
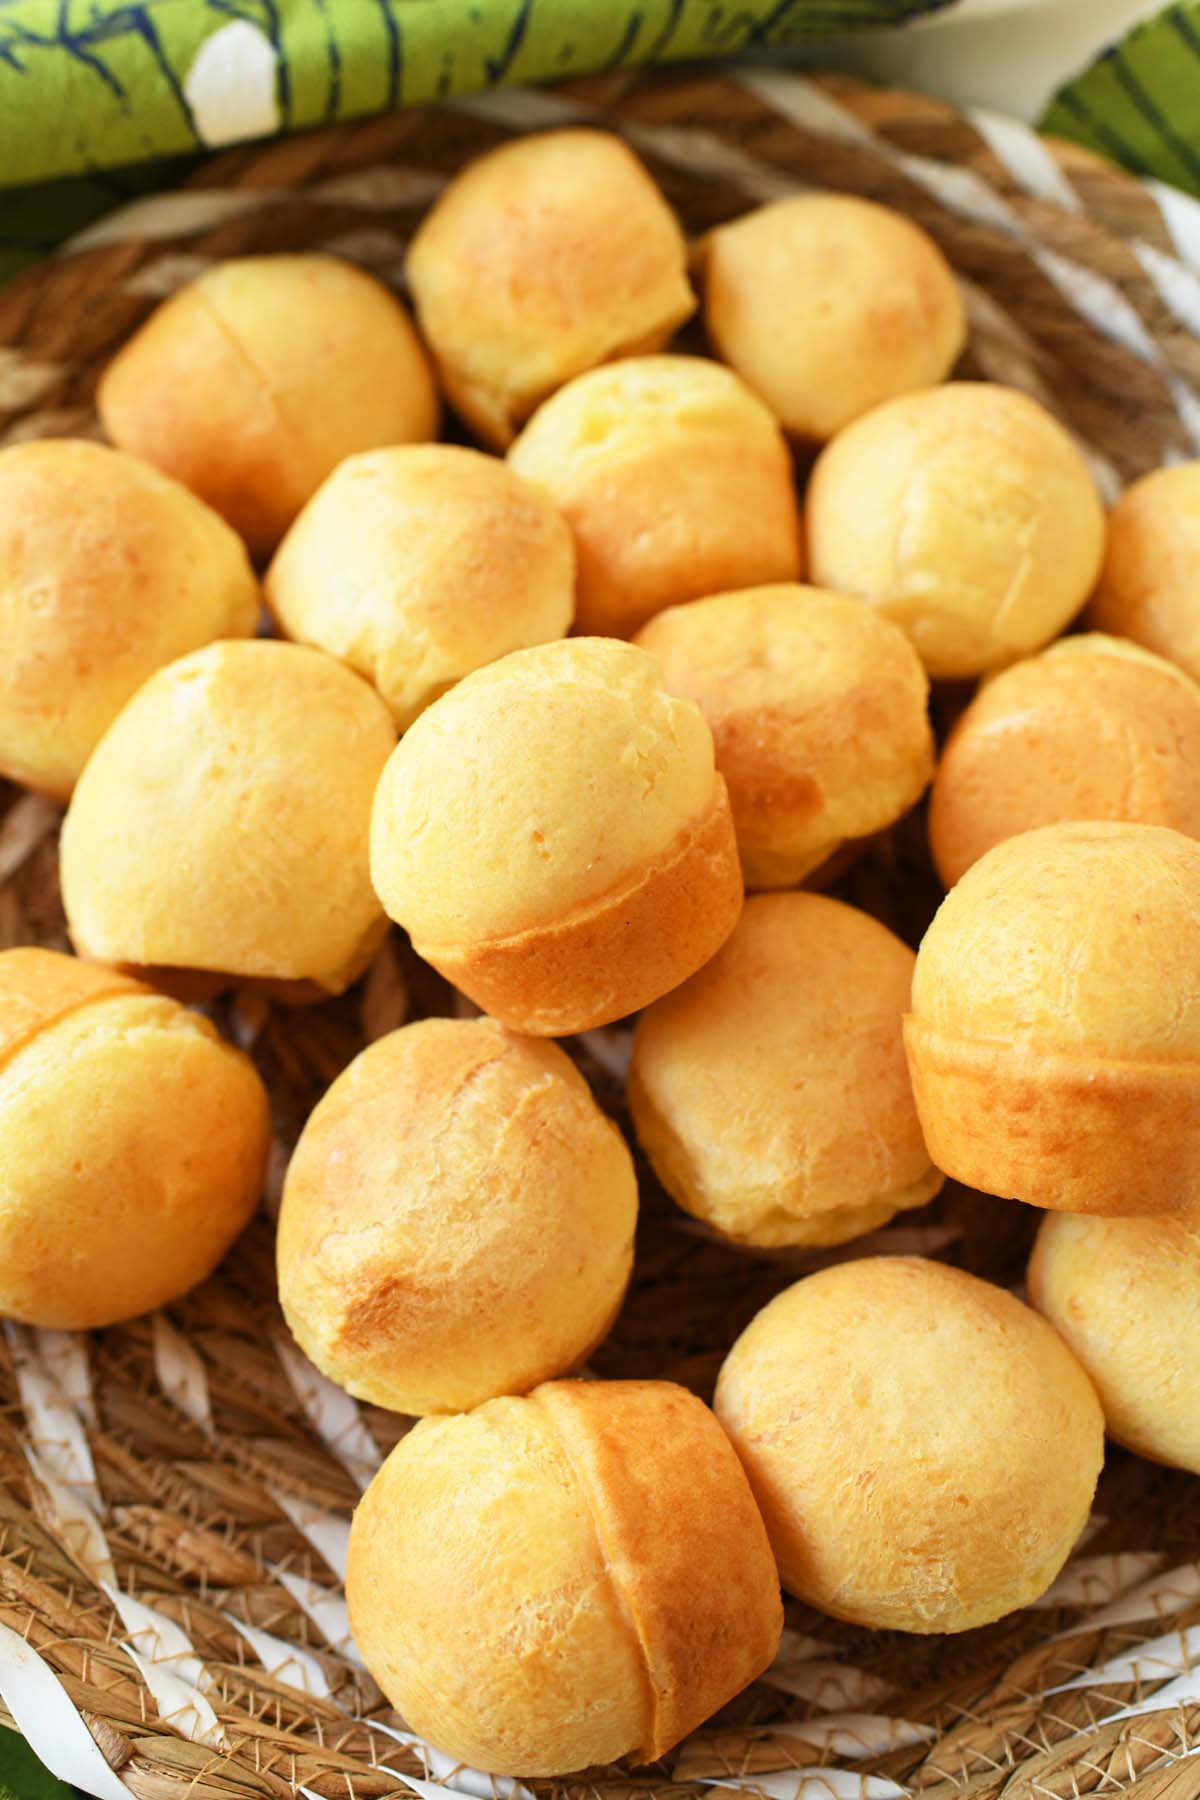
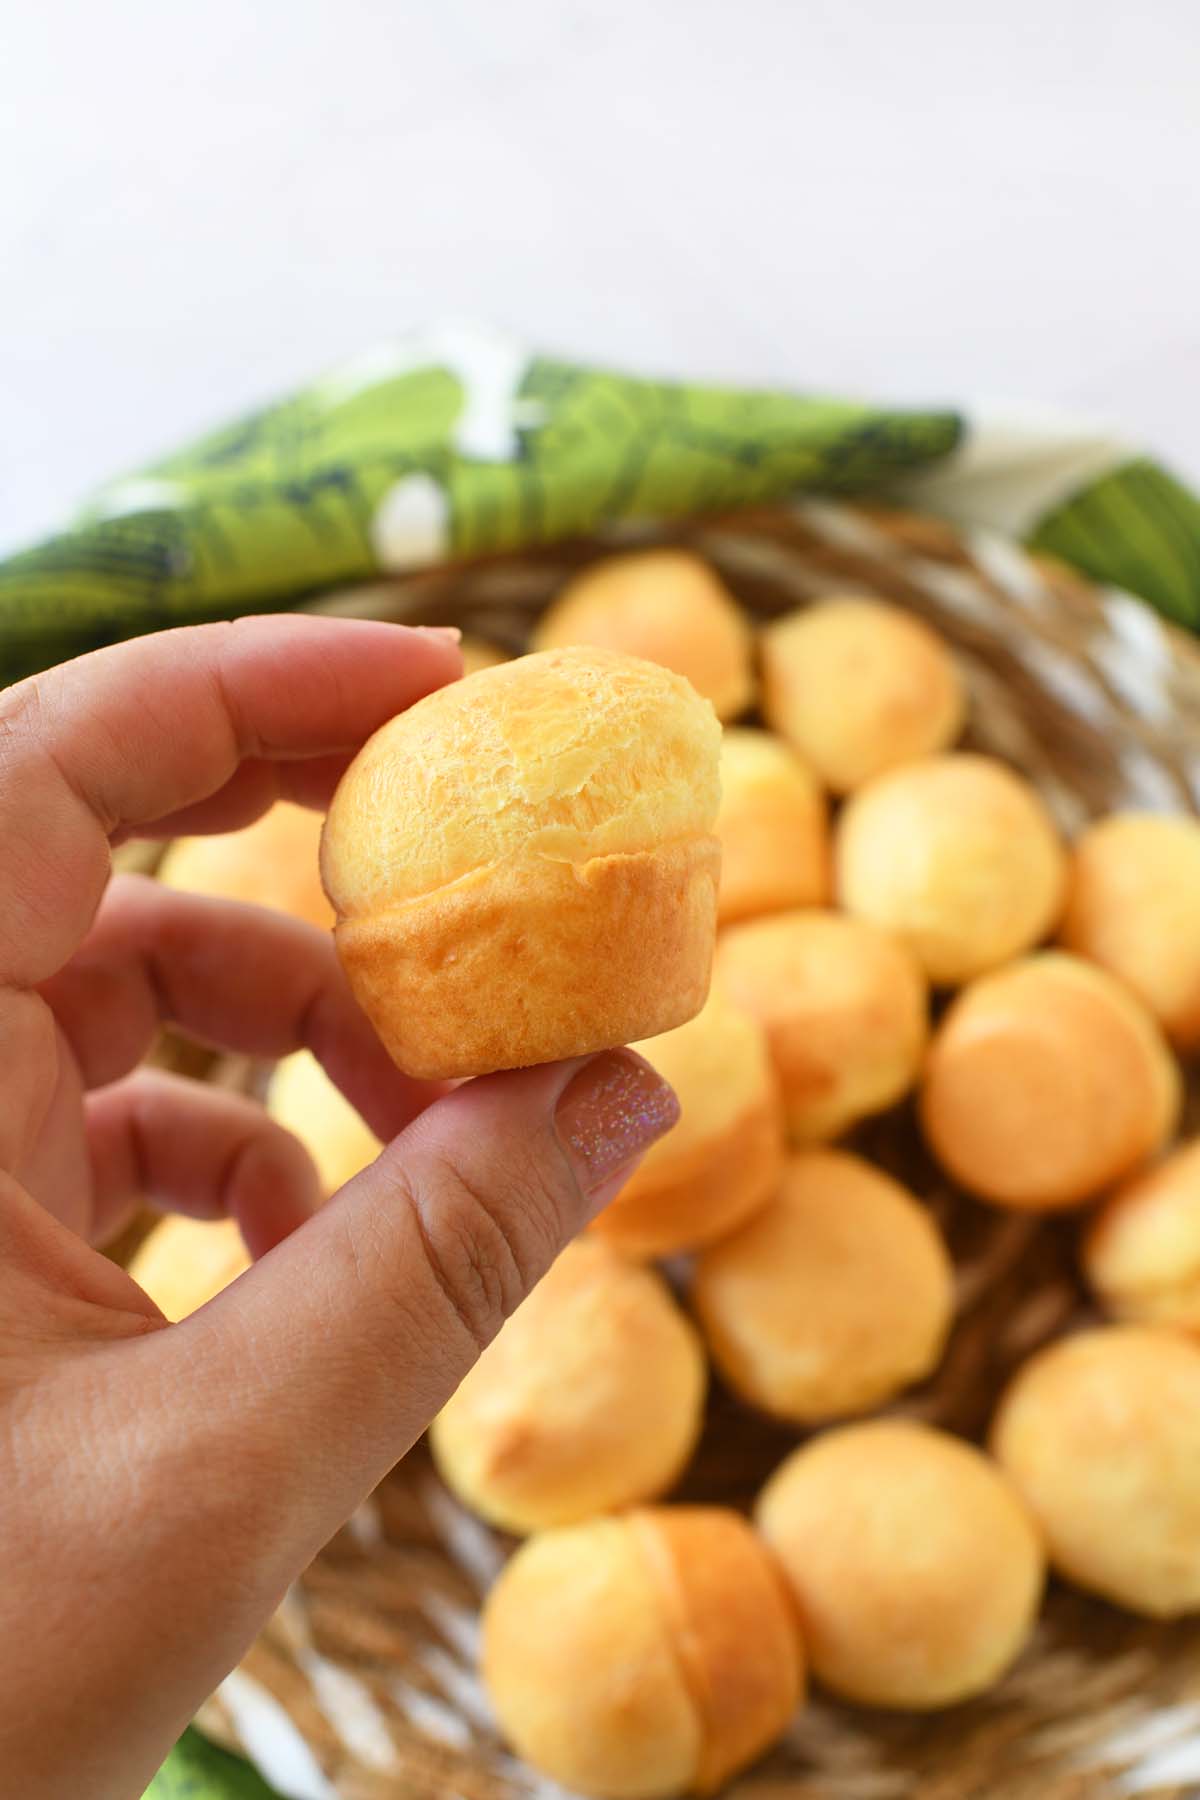
Easy Brazilian Cheese Bread (Pão de Queijo) is naturally gluten-free, super moist, and easy to make right at home with simple ingredients and a mini muffin tin.
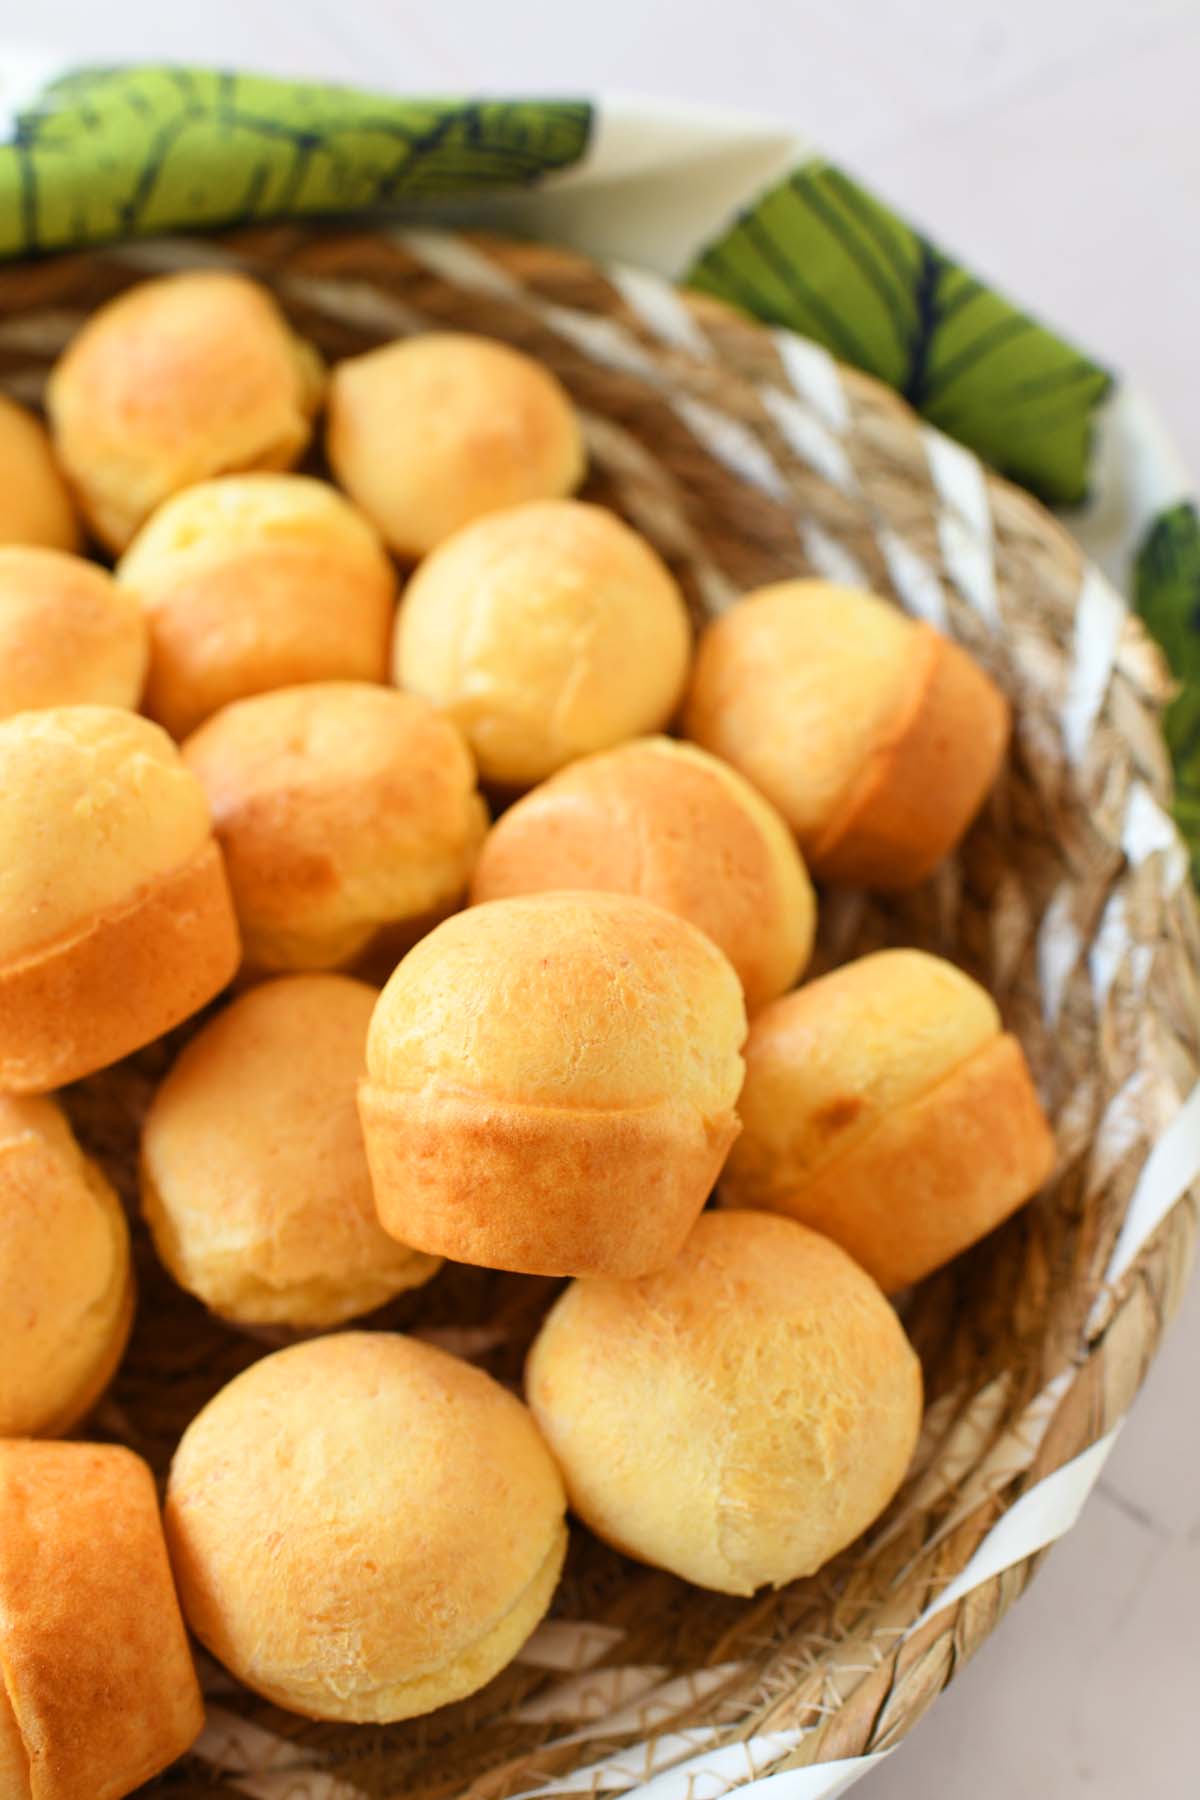
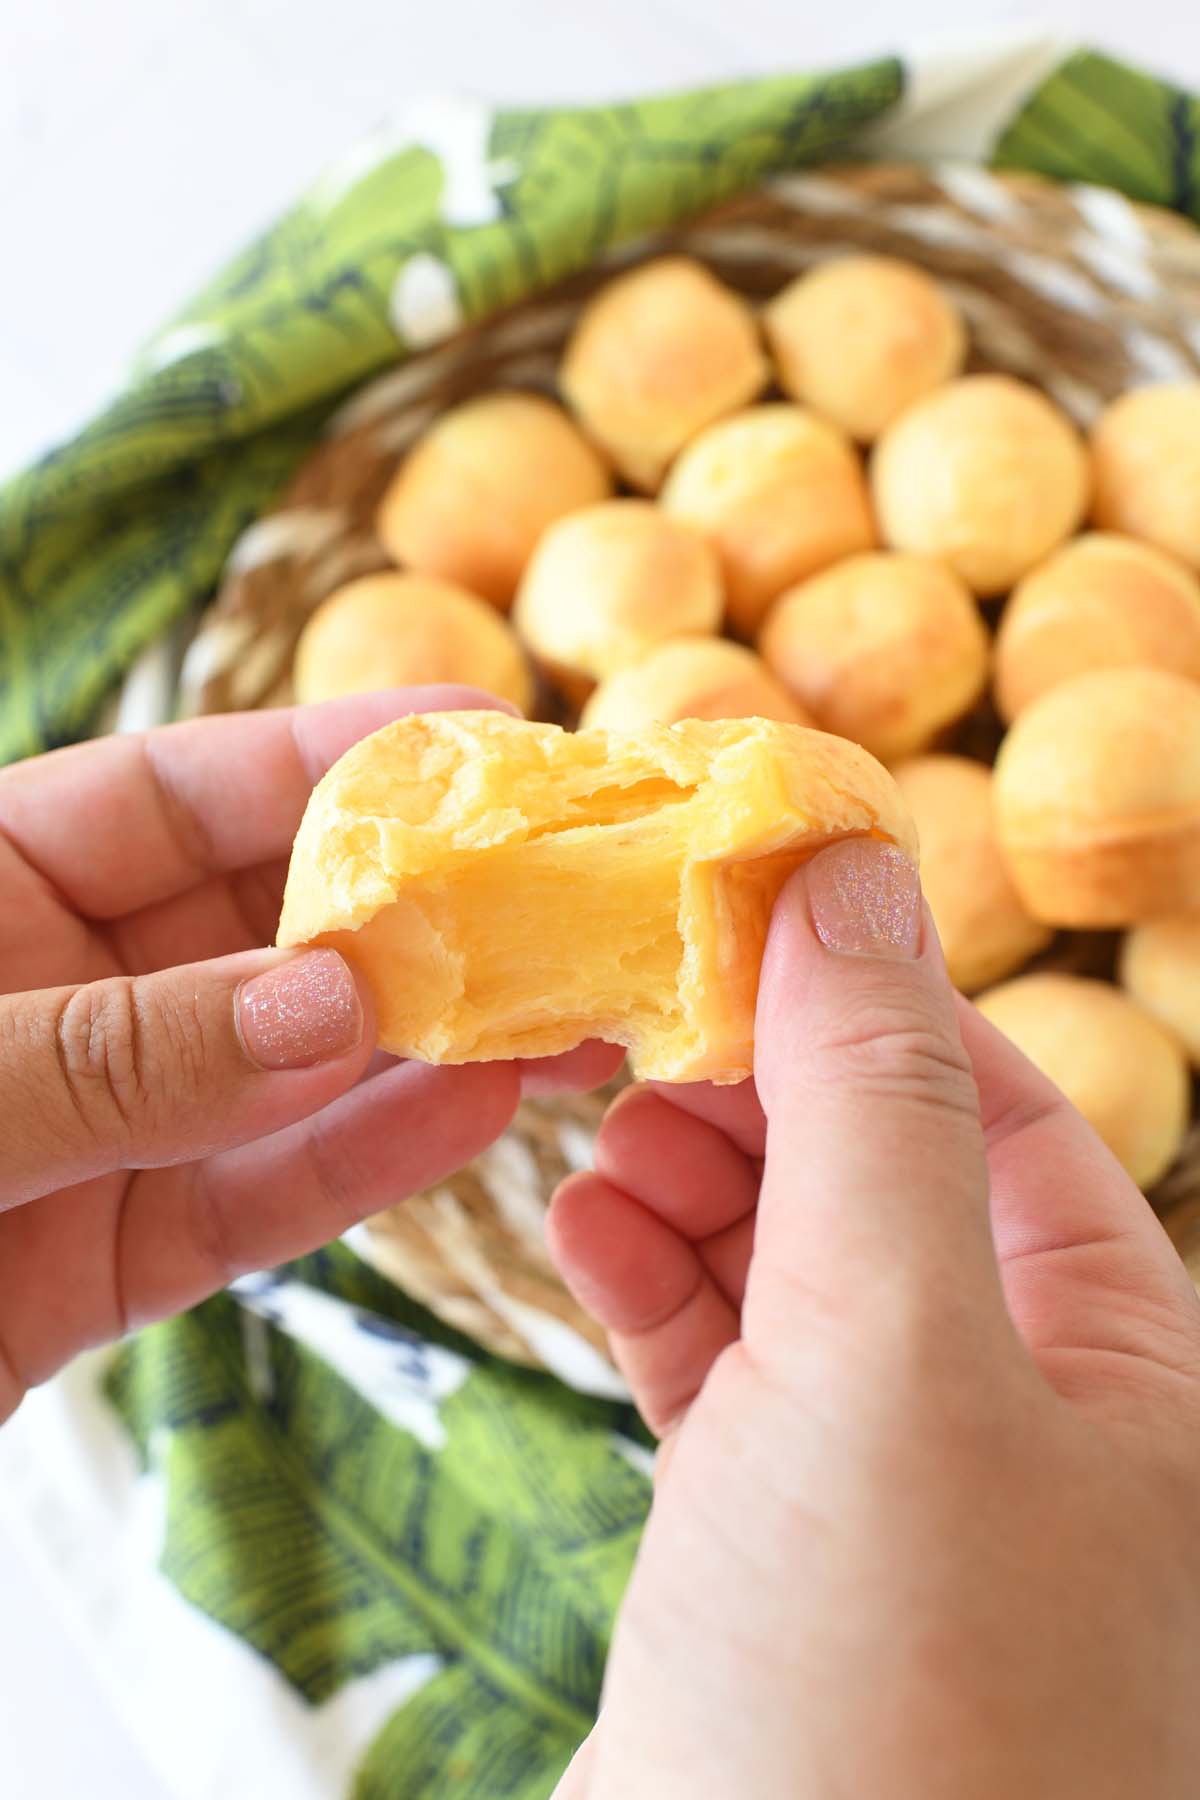
One of my favorite parts of visiting our local Brazilian grill is the Pão de Queijo. I could easily eat these by the half-dozen—they are just so delicious and have the best texture around. I love how they are crispy on the outside, yet super moist and stretchy on the inside. This recipe hits the perfect ratio of cheese to flour and will have you wanting to recreate them every single week!
If you’ve ever tried to recreate these at home, you might have been intimidated by the traditional, hand-rolled dough process. But I have a secret: you don’t need to spend hours rolling dough to get that authentic experience. By using a blender and a mini muffin tin, you can get these perfectly portioned, golden-brown bites on the table in under 30 minutes!
Why You’ll Love This Recipe
- Naturally Gluten-Free: Using tapioca flour (also called tapioca starch) means these are perfect for gluten-free diets without sacrificing that signature chew.
- The "Muffin Tin" Advantage: The mini muffin tin creates a uniform, crispy crust that holds the moist, airy center perfectly.
- Minimal Effort: With the blender method, you simply combine, pour, and bake. No kneading or rolling required.
Pro-Tips for the Best Results
- Cheese Matters: While Parmesan adds a great nutty flavor, adding a bit of Mozzarella is the secret to getting that iconic "cheese pull" when you bite into them.
- Don't Over-mix: Pulse the cheese at the very end. If you blend it too long, it will disappear into the batter, and you’ll lose those delicious pockets of melted cheese.
- Serving: These are fantastic on their own, but try serving them with a bit of spicy honey or a garlic-herb butter dip to take them to the next level.
Frequently Asked Questions (FAQ)
Can I use a different type of flour?
No. This recipe relies on tapioca flour (also sold as tapioca starch) to achieve its signature texture. Using wheat flour or almond flour will change the chemistry of the bread and you won't get that iconic crispy-chewy, stretchy result. You can find tapioca flour in the baking aisle or the international section of most grocery stores.
Why did my Pão de Queijo deflate after coming out of the oven?
It is normal for them to sink slightly as they cool, just like a popover or soufflé. However, if they collapse completely, it usually means they needed a few more minutes in the oven to set their structure. Ensure they are a deep golden brown before pulling them out.
Can I make the batter ahead of time?
Yes! You can blend the batter and store it in the refrigerator for up to 24 hours. The tapioca starch may settle at the bottom, so just give the batter a quick whisk or a rapid pulse in the blender before pouring it into your muffin tin.
What if I don't have a mini muffin tin?
You can use a standard-sized muffin tin, but you will need to adjust the baking time. Increase the time to approximately 25–30 minutes. Note that the texture will be slightly different—the exterior will be less "crusty" throughout, and the center will be even chewier.
Can I freeze these?
Absolutely. Pão de Queijo freezes beautifully.
To freeze baked: Let them cool completely, then store in an airtight bag. Reheat them in a 350°F oven or a toaster oven for 5 minutes to restore their crispiness. Avoid the microwave, as it will make them rubbery.
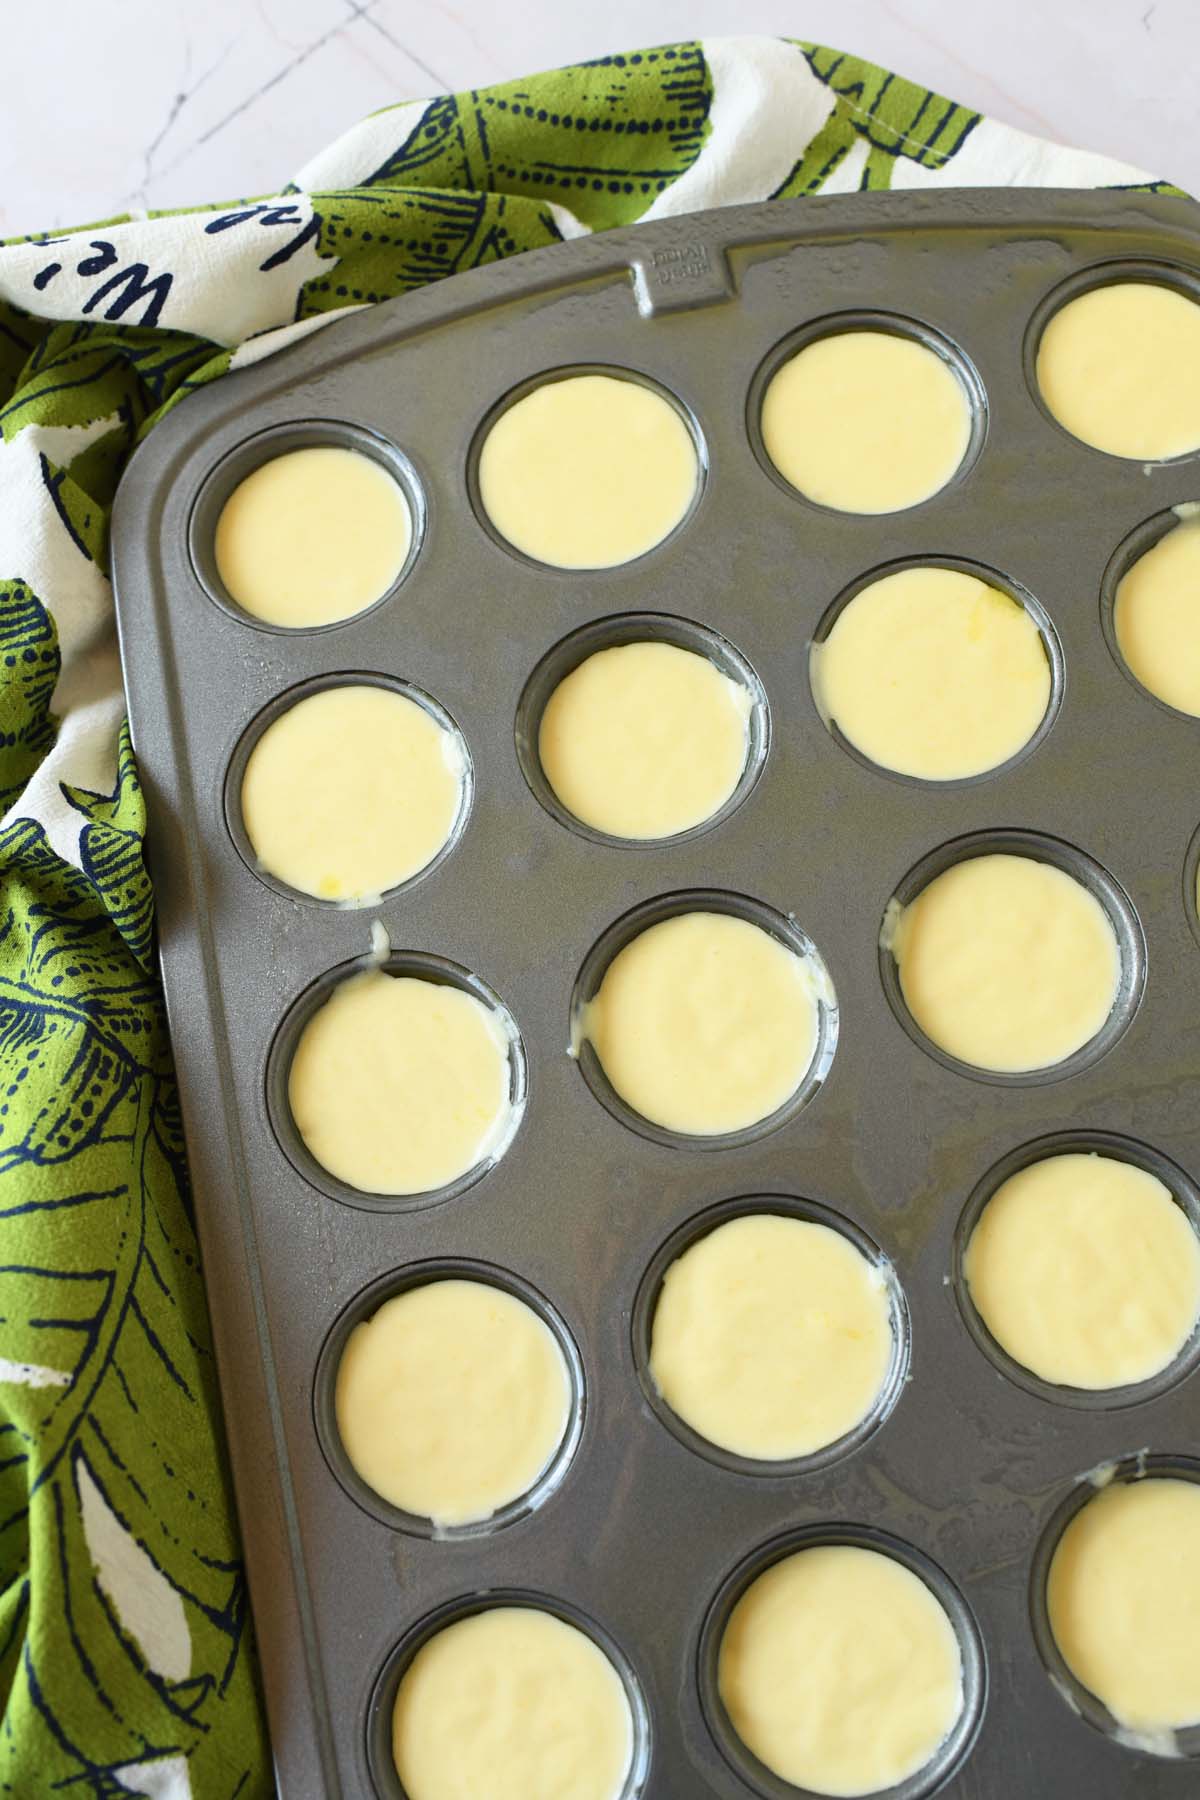
To freeze unbaked: Pour the batter into the muffin tin, freeze until solid, then pop the "pucks" out and store in a freezer bag. Bake directly from frozen, adding about 3–5 minutes to the total time.
This recipe captures the perfect ratio of cheese to flour, and I guarantee it will have you wanting to recreate them every single week. Happy baking!
Have you tried making Pão de Queijo at home before, or is this your first time experimenting with tapioca flour?
More Muffin Tin Recipes to Try Today

📖 Recipe
Homemade Brazilian Cheese Bread (Muffin Tin Method)
Equipment
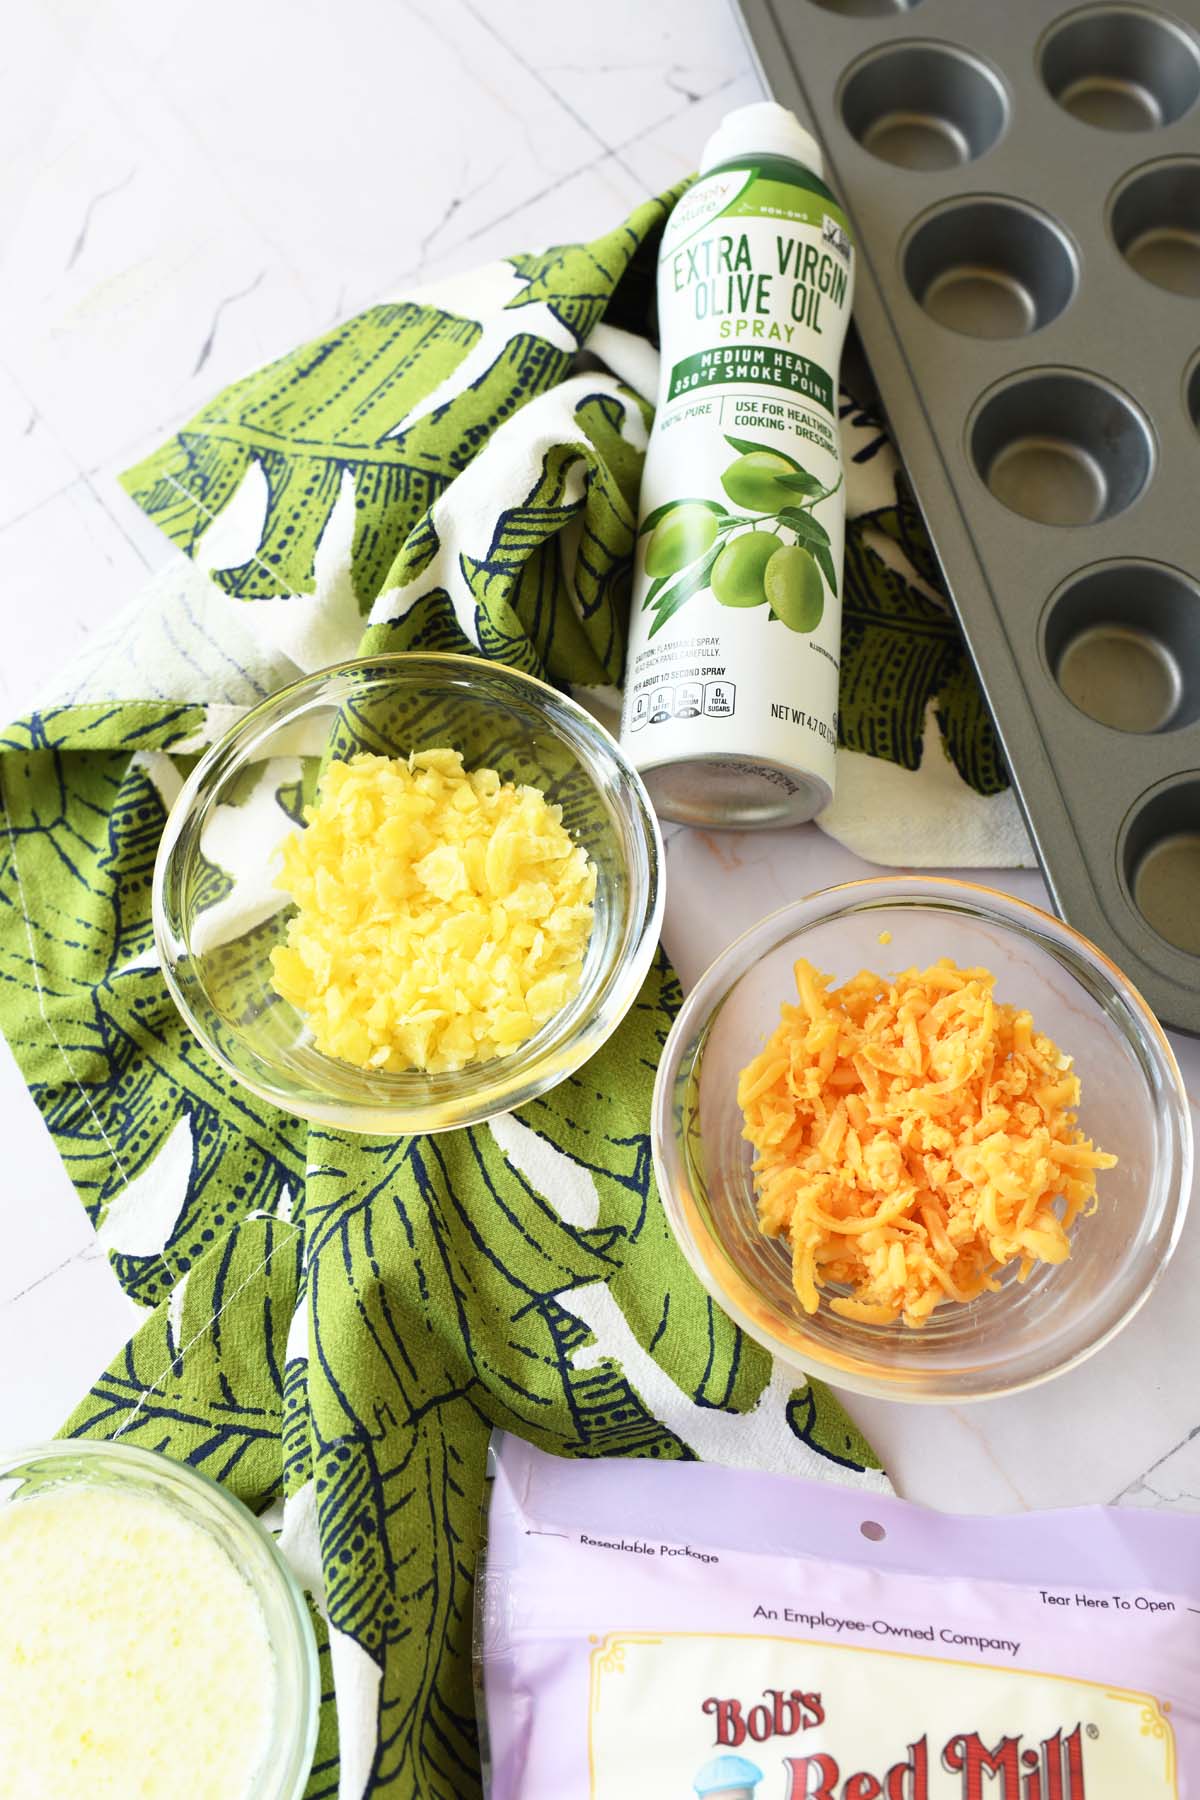
- 1 24-count muffin tin
- blender
- measuring cups & spoons
Ingredients
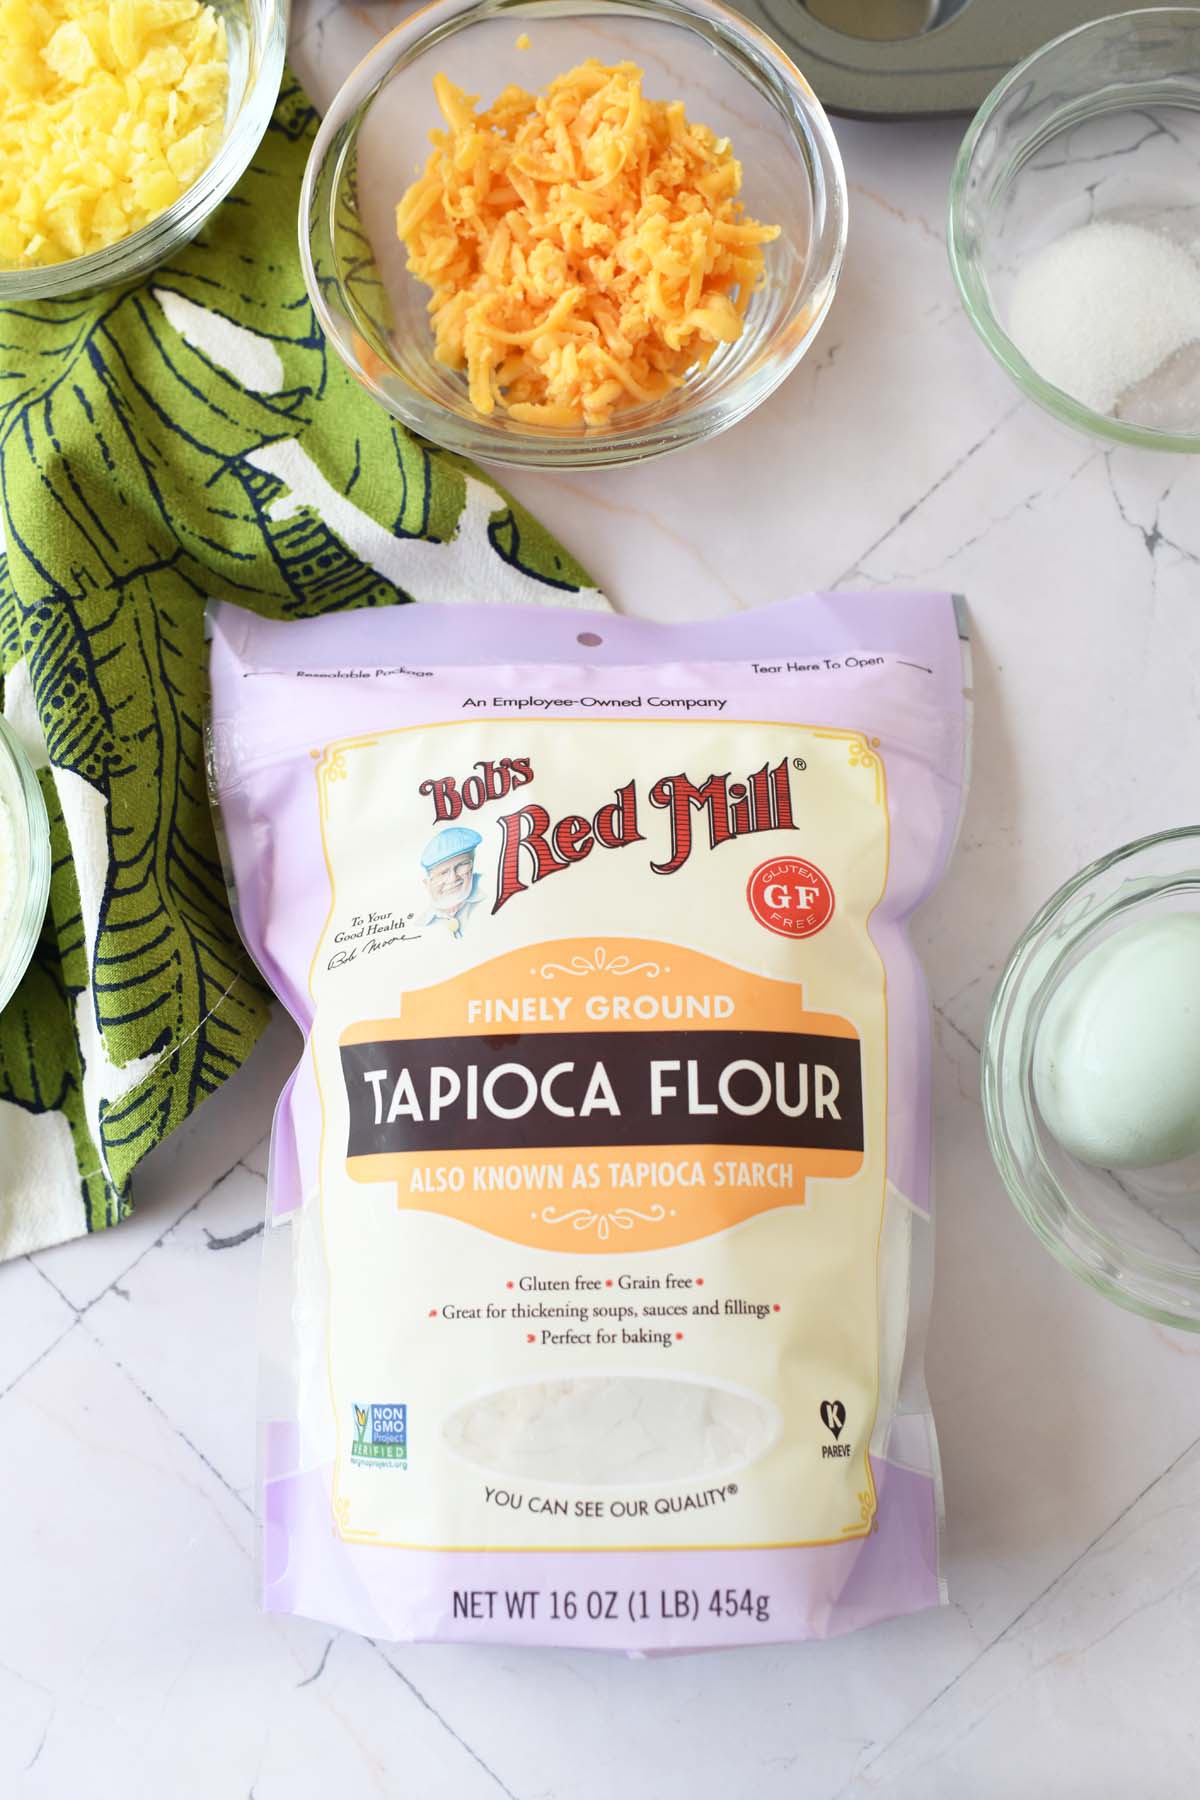
- 1½ cups Tapioca Flour (Starch)
- 1 large egg room temperature
- ⅓ cup olive oil
- ⅔ cup whole milk
- ¼ cup cheddar freshly shredded
- ¼ cup parmesan freshly shredded
- 1 teaspoon salt
Instructions
- Preheat your oven to 400°F (200°C). Generously grease your mini muffin tin with butter or non-stick spray. Tip: If you want an extra crispy bottom, use a tiny bit of butter in each cup.
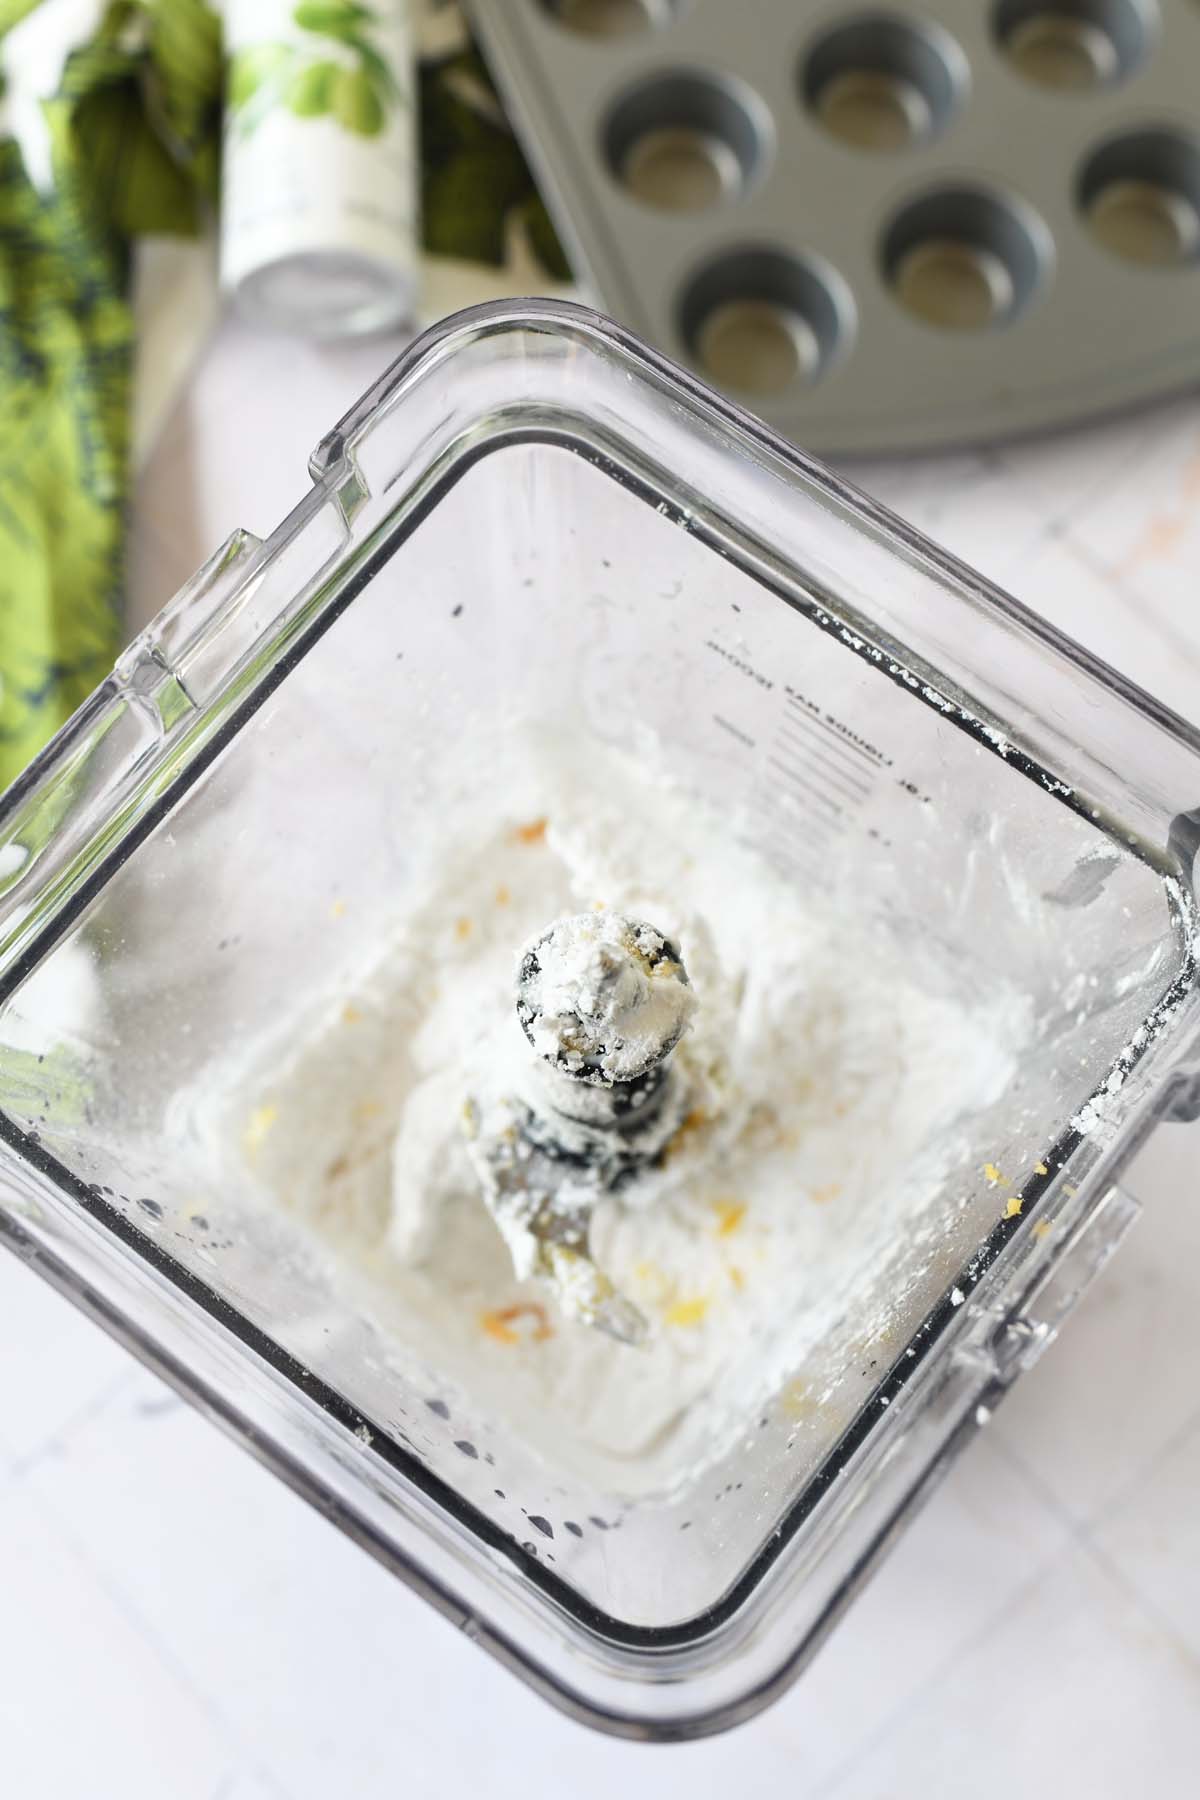
- Add all the ingredients to a blender and blend on low to combine until thick and creamy.
- Pour the batter into the greased mini muffin cups. Fill them a little over ¾ of the way full.
- Bake for 15–18 minutes. They should be puffed, golden, and feel firm to the touch.
- Let them sit in the tin for 2–3 minutes before removing them. They are best served immediately while warm.
Notes
How to Freeze Baked Pão de Queijo
- Cool Completely: This is the most important step. If you freeze them while they are still warm, the steam will turn into ice crystals inside the container, making the bread soggy or gummy when thawed. Wait until they reach room temperature.
- Flash Freeze (Optional but Recommended): Place the cooled balls on a baking sheet in the freezer for about 30 minutes. This prevents them from clumping together, allowing you to grab just one or two at a time later.
- Seal and Store: Transfer them to a heavy-duty, airtight freezer bag. Squeeze out as much air as possible before sealing to prevent freezer burn. They will keep well for up to 2 months.
How to Reheat
To get that signature crispy-on-the-outside, chewy-on-the-inside texture back, avoid the microwave if possible, as it tends to make them rubbery.-
Oven or Toaster Oven (Recommended):
- Preheat your oven or toaster oven to 350°F.
- Place the frozen, baked balls directly on a baking sheet.
- Heat for 8–12 minutes or until they are warmed through and the crust has crisped up again.
-
Air Fryer:
- This is an excellent method for reheating. Place them in the air fryer basket at 350°F for 4–6 minutes.



Leave a Reply